Thursday 30 May 2013

Box hedges: starting a new topiary

Here's a  change from my usual "how to do it" posts: this time, How To Start a Box Hedge.

Two years ago, one of my Clients wanted a White Bed, so I cleared out a narrow, nothing-very-special bed along the house wall, and we planted it with white: a rose, a clematis, white-flowered heather, Allium neapolitanum,  tulips, Tradescantia "Innocence", and some hideous monstrous things whose name I can't remember, but which produced massive, smothering rosettes of coarse dark-green foliage for two years before finally producing very tall spikes of white (ish) flowers.

After the first season, we reassessed it, and decided that it was only moderately successful. I remembered reading somewhere that White gardens needed to have boundaries,  to contain the white: so I suggested we plant a low box hedge around the front edge.

In went two dozen little Box plants, bought from a local garden centre, and each only about 4" high. I spread them along the length of the bed, keeping three of them back as reserves, so they were initially about 6" apart.

They nearly all made it through their first winter, and the two casualties were replaced by two of my reserves.

That spring, we realised that although the rose was just about surviving, the clematis had not, so that came out, and we added some white anemone blanda and more tulips. The box plants continued to grow slowly, despite the efforts of the cats to dig them out: at one point I had a barrier of short canes, just to prevent excavation.

Later in the summer I gave them a very light clip, just trimming off the tops of any that had grown to more than 8", to keep them bushy.

This year, they were due for their first clip, as they had settled in well, and were putting on some good growth.

Here is the "before" picture - yes, amazing, I remembered!  The three pyramids of white are, incidentally, Honesty, which I provided to take the place of the coarse green sprawler, and which are paying dividends already. Oh, and yes, there are still some blue bluebells in there,  they just keep coming back every year, and I just keep on pulling them out...


And here is After:

There you go, blue Bluebells removed (white ones left), Box trimmed neatly.

Not exactly what I would call a Topiary clip, just a rough clip of the top, to get them to an even height, and quite a lot off the inside and the outside, so that they expand widthwise but don't try to take over the bed or the path.

Most of the books recommend using canes and string to get a level for the top, but take my word for it, after you've cut through the string and had to re-join it half a dozen times, you learn the value of being able to do it by eye.

So I did it by eye, stood back and checked:  it's hard to get a good level on a new hedge, as there are gaps, it's not solid in the way that an established hedge is.  If you find this difficult, my answer is to take a short cane, cut it to length, and use it as a measure, by placing it along the path at intervals, and cutting the hedge at that point to the level of the cane. Then go back and join up the gaps, as it were.

Simple! (She says, smiling.)

Wednesday 29 May 2013

Cow Parsley spoiling a Wildflower Meadow

One of my Clients has a wildflower meadow, in what used to be a tennis court at the back of their formal garden.

It is a charming place - well hidden behind high Yew hedges on the house side, and shielded from the neighbours by good hedging on the other sides. As well as the wildflower meadow, it contains the bonfire heap, the compost heaps, a massive Black Walnut tree, several shrubs at odd places (just to break up the area, my Client says), the rhubarb bed and the raspberry bed.

So I spend quite a lot of time there, one way or another, but I don't do much actual gardening in it.

Two summers ago, I noticed some cow parsley was sneaking in to one end, presumably encroaching from one of the gardens on that side. My Client wasn't too worried, as it was frothy and quite attractive.

Last year, however, it was smothering the wildflowers, and the Client agreed that something had to be done.  We decided (I say that, when I mean "I suggested, and my Client agreed...") that this year, we would spray with weedkiller early in the season, hoping to catch the cow parsley before the wildflowers got going - if any were left, that is!

Of course, this year turned out to be the coldest, wettest, horrible-est winter on record, followed by a non-existent spring, with temperatures so low that there wasn't much point spraying. I finally managed to start spraying a couple of weeks ago, using Verdone, a lawn weedkiller, that won't kill any remaining grass, but should - allegedly - take out the broad-leafed weeds.

I had concerns about the Verdone killing the wildflowers, but found two points to reassure me that it was right to use it - firstly the wildflowers shouldn't appear until late spring/early summer, and secondly there were whole areas last year with no signs of wildflowers at all,  due to the smothering by the cow parsley.

On the worst areas - round the Walnut, for a start - where it was a sea of cow parsley, and nothing else,  I just sprayed the entire area, on the grounds that there were no wildflowers at all there. In other parts of the meadow, I tried to "spot spray" to just target the cow parsley.

Did it work?

Well, partially - it was clear that some of the cow parsley plants were suffering, as they were growing pale and contorted.

Diversion: in case you didn't know, most weedkillers these days are hormonal, they kill the plant by forcing it to "overgrow" and exhaust itself.  So instead of going brown and shrivelling up, they explode upwards in weird curly shapes, then collapse and die.The weedkillers that make plants go brown and shrivel up are defoliants - the paraquat types - which seem to have a really fast effect, but which usually don't kill the root, so if your problem involves weeds with long root systems (bindweed, couch grass, ground elder, the usual suspects) then it is only a short-term fix. End of diversion, please continue.

However, they were still flowering, which means that they will set seed, which means the problem will be multiplied next year, so I had to take further action.

Now, in the formal garden, I just weed out the cow parsley using my standard in-constant-use hand-tool, the Daisy Grubber, (for more info, read this article) which looks like this:

...and on days when the soil is slightly moist and soft, they come out really easily, in fact, they can sometimes just be pulled out, by hand.

But there are way, way too many of them in the meadow to do that - it would take me weeks to go over the whole area, and I have the formal garden to maintain as well.

So I have adopted a new tactic: pulling their heads off. (To be pronounced in a west country growl, "Purrll theirrrr bluuudddy 'eads orrrf!")

Here's the narrow strip between two of the mown paths: as you can see, mostly just meadow buttercup and a smattering of cow parsley:


This is "after": all white umbrel heads removed.


It took me about ten minutes, instantly improves the look of the area, and will reduce the amount of seeds produced.

My plan is to spend 10-20  minutes out there each week, doing the same, to keep this area completely clear, and to gradually work my way into the other sections.

Cow parsley - Anthriscus sylvestris - is a perennial, unfortunately, which means this is not a lasting solution, as the roots will regrow.

But, my plan is that a) it will drastically reduce the amount of seeding and b) next year, hopefully it won't be quite so cold for so long, so I will be able to get out there with the Verdone much earlier in the year.

I'll let you know how it progresses!

Tuesday 28 May 2013

How To Use A Daisy Grubber

Another in my occasional series of How To Do It articles, prompted by questions or enquiries.

What is a Daisy Grubber? It's a long, narrow, two-pronged hand tool, designed to lever out long-rooted weeds.

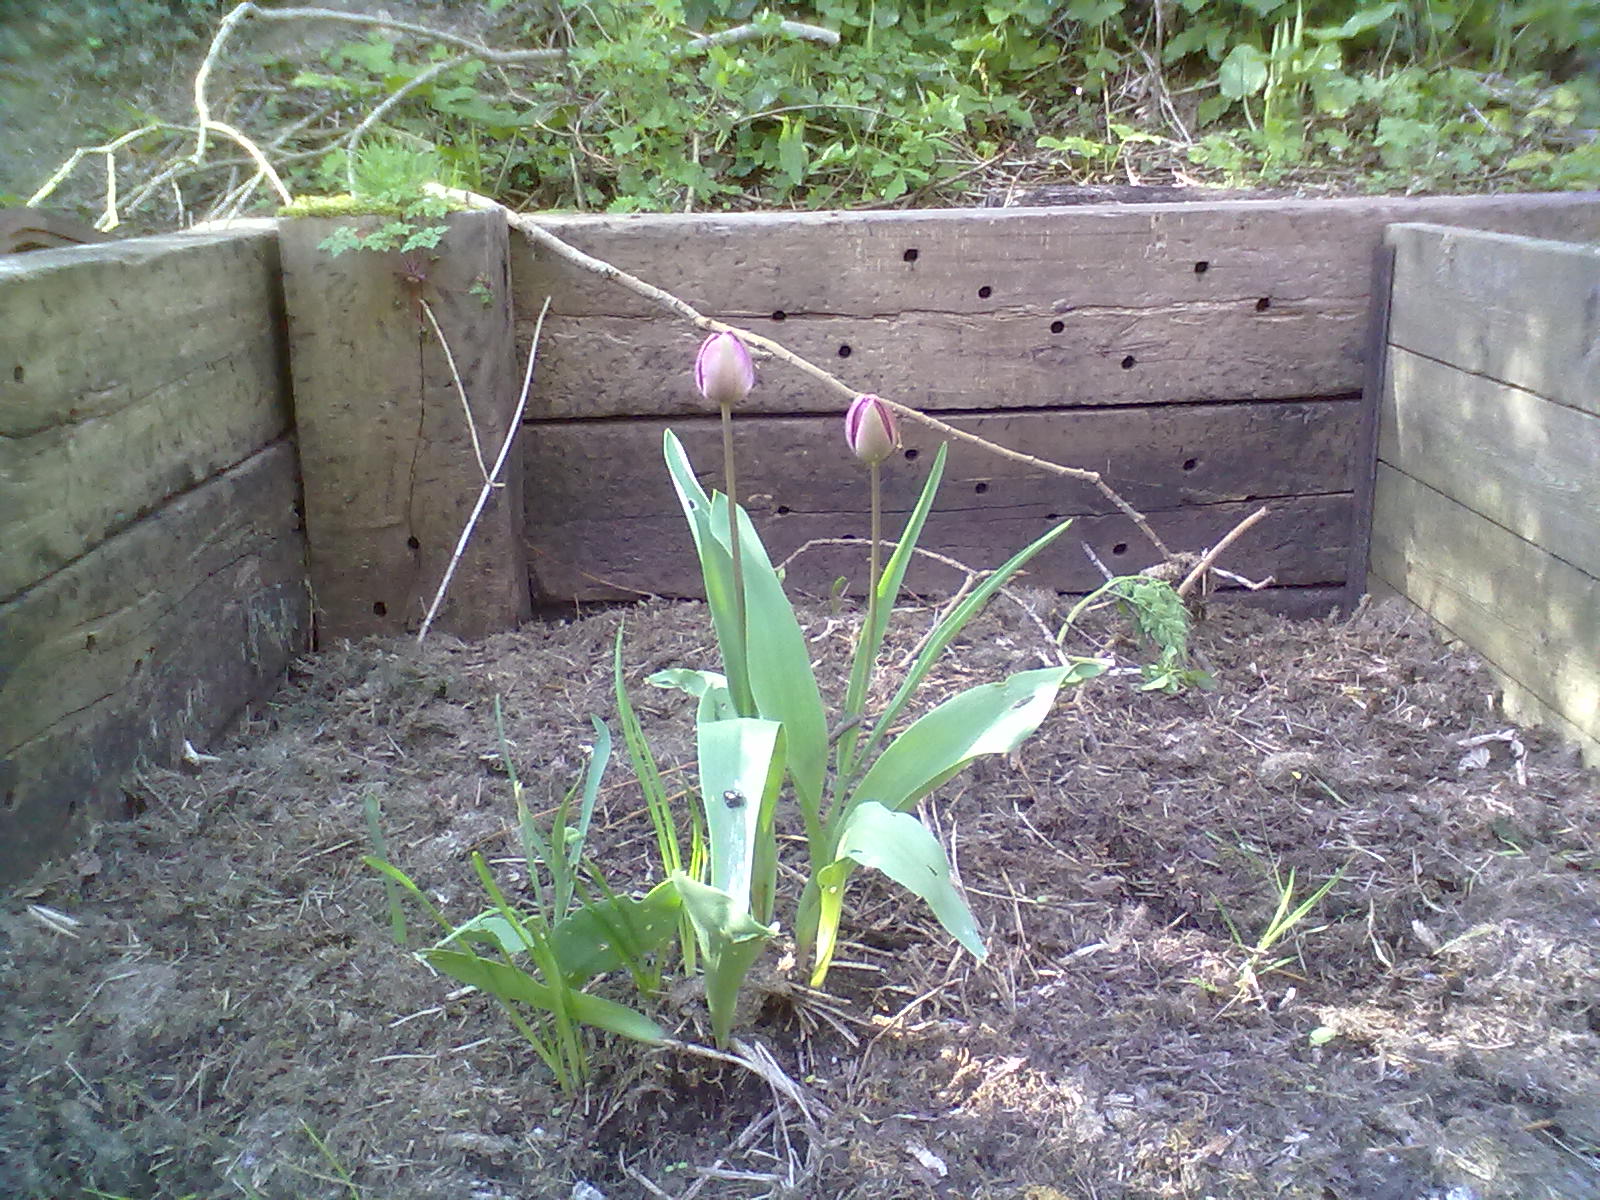
This is my current one: plastic-handled, as opposed to the traditional wooden-handled ones.


I've just had a quick check on the internet and there are several varieties of Daisy Grubber: some look more like asparagus forks, and some have a fancy lumpy bit on the back which - allegedly - helps you to lever the weeds out.

I would say don't bother, just buy a plain simple one like this: for many years I have used the cheapest B&Q or Homebase wooden-handled ones, but this is a trial of a plastic-handled one. For two reasons: firstly, it's brightly coloured, and it's made of plastic.

Why those reasons? Well, firstly, the colour: I hoped that the bright lime green (as opposed to "wood" ) of the handle will be more visible when working. I use two main tools when working - secateurs which live in the special side-pocket of my shorts (first adaptation all new pairs of shorts I buy is to have an extra pocket sewn on the right leg) and this tool. When I need to use the secateurs, I usually stick the daisy grubber into the ground, as it's easier to find it again, and I'm less likely to step back onto it. All well and good until I move away from the spot, chopping as I go. Or take the choppings over to the wheelbarrow, perhaps. Then I sometimes have trouble locating the daisy grubber, as the wood of the handle blends in too well.

Hence the brightly coloured one - but so far, this is not working as well as I'd hoped,  as a surprising number of plants have bright green foliage, and I am still finding that, after chopping something, I slip the secateurs back into their pocket, then have to stand up and look around vacantly, wondering where I left the daisy grubber. And no, before you ask, I can't use the same pocket for this tool - it's top heavy and they fall out. If I make the secateur pocket deep enough for the daisy grubber, then I can't easily pull the secateurs out. And they are in and out all day long!

So I'm still working on that.

The other issue is that the wooden handle, being made of wood, wears down, and after a month or two I find I have a tool that fits my hand perfectly, which is lovely. But - oh woe - after another couple of months, I find that I have worn out the prongs, which are now half the length of that shown above, and therefore much less efficient to use. But it's heartbreaking to have to get a new one, as the handle fits my hand so well... my kind friend Jim and his angle-grinder did extend the life of one or two daisy grubbers, by re-cutting the groove, but of course the whole tool is therefore an inch shorter, and therefore less effective.

So I'm hoping that this time, I won't get so attached to the tool and will just throw it out when the blade wears out.

Now, How To Use It.

It would be so much easier to do this in pictures!!

OK, Take the tool, hold it so that the long blade is above the weed of your choice, almost upright. Stab it down just to one side of the centre of the weed. When it is a good couple of inches in, lever the handle downwards and the blade will appear, with the root of the weed in/on it.

Points to note:

With a big basal rosette, ie a big flat spread of leaves at ground level, lift up the leaves so that you can get to the central root.

Don't use too much force or you will break the blade from the handle. (Ask me how I know this... yes, I've done it.)

If the soil is very hard, go at it from several different sides, one after the other, levering just a little bit each time. As the soil loosens, eventually you will be able to lever out the root.

With experience, you will learn how deep you need to go before levering. Too shallow and the root will snap. Too deep, and you are making it unnecessarily hard for yourself.

The technique and tool also work on fibrous rooted weeds: you don't go quite as deep, and I often find that you need two or three goes at it, from different points around the weed.  For some,  you can use the central groove as a cutting tool - by repeatedly stabbing across the pad of roots, you can cut off the top. Not recommended for perennial weeds such as ground elder etc, but very useful for those weeds which don't regenerate from scraps of roots. Again, experience will soon teach you.

I'm always interested to see how other gardeners work, and what tools they use: SmugAmanda always used what I call a "claw", a three-pronged hand tool (a quick google search reveals it's either a claw or a hand rake, your choice), which meant she could get round a bed very quickly, but only superficially. My daisy grubber and I take longer, but dig deeper. Relative benefits? I prefer my style, as it gets the weeds out by the roots, and also breaks up the surface pan as I go. She preferred hers, as it was quicker.

I would never buy an expensive one: whatever they are coated with, it soon wears off - see the picture at the top, you can see where the smart black coating has worn right away - and they all break eventually, especially with the sort of use that I get from them.  So far this plastic one is bearing up well - if only they made them in bright red!

*Update* Waaaah! I've lost it! It's now September, and last week I arrived at work one morning to find an empty slot in my workbag. This caused me no end of problems, as I had to find jobs other than weeding - and it's made me realise just what a large proportion of my working time is spent on that exact task. Instead, I had to do a whole morning of pruning, digging over, planting and cutting back, with not a single weed removed.

I phoned the client from the previous afternoon, and she very kindly had a look around her garden, but couldn't find it.. no doubt it's in a brown bin or compost heap by now. Luckily I have some spare wooden-handled ones, but I was getting fond on the bright green plastic one. If I could just remember where I bought it...


Did you enjoy this article? Did you find it useful? Would you like me to answer your own, personal, gardening question? Become a Patron - just click here - and support me! Or use the Donate button for a one-off donation. If just 10% of my visitors gave me a pound a month, I'd be able to spend a lot more time answering all the questions!!

Monday 20 May 2013

Couch grass - dig once, dig twice, dig thrice.

Here's a lovely sight:


Yes, couch grass.

I have a new client, he has a couple of large beds which are fully, absolutely and totally infested with couch grass.

How depressing!  Luckily he found me, and I am now digging my way to victory.

In cases as bad as this, there is only one thing to do: you have to clear out the entire bed, lifting all the plants, cleaning off the couch grass, digging out all the roots, then replanting.

Best practice is to get a couple of buckets of water, some stout plastic bags for the rubbish - old compost or bark chip bags are perfect - and a large plastic sheet.

Spread the plastic sheet out at the edge of the bed, and put the good plants on it as you go, to keep them all in one place, and to avoid getting muddy footprints all over the lawn. It also gives you a working area to clean out the roots and shake off the soil.

So, Dig Once:

Dig out the good plants: firstly loosen the soil all around them. Lever them up, shake off as much soil as you can, pulling out every couch grass root that you see. Put bulbs and clumps on the sheet, put soft-rooted ones in the buckets to keep them moist.

Dig Twice:

Dig over the ground, pulling out the couch grass as you go. Don't pull at it so much that it snaps - loosen an area, then get the fork underneath it, lift, and "bounce" the soil on the fork, to get as much off as possible. Ease out the long couch grass roots, trying not to break them.  I usually work from one side to the other, in fairly narrow strips, so I can pull out a handful of long roots, leaving a lot of loose ends on the un-dug side: then I dig the next strip, getting out another handful of long roots, snapping as few as possible. Hard to describe, easier to demonstrate. Put all roots, weeds etc in the rubbish bags. Don't even think about composting them: they should go straight to the tip, the bonfire or the brown bin, depending on your area.

Dig Thrice:

Once you've done the area, go back and dig it over again. You will pull out yet another bagfull of roots! This leaves the bed ready for replanting.

I rather think that if you dug for a fourth time, you would still be finding roots, but let's be honest, you have to stop somewhere, and by getting out the majority of it, any regrowth will be on very short lengths of root, and therefore easy to get out by normal weeding.

Having Dug Thrice, you can replant.

Having already taken care to shake as much soil as possible off their roots, and to pull out every scrap of couch grass you can find, this should be quite easy, but do look carefully at the roots of every single plant,  before you replant it.  With matted, clumpy perennials, you might need to soak the rootball in a bowl of water in order to pull the couch grass through and out without breaking it. If you don't do this, then by the end of the season you will be back where you started. In the very worst cases, you might have to discard some plants that are so badly infested that you can't clear it all out.

Having replanted, water thoroughly. Sit back and admire. Leap to your feet in horror at all the bare empty soil. Rush off to buy new plants. Fill in the gaps. Sit back and admire.

Here is the same bed at Dug Twice stage:


Not finished yet, quite a lot of bits still visible, so back I  go and Dig Thrice,  as above.

After cleaning off the plants, I put back the decent ones, and here is the result:


OK, the bulbs are looking very sad, they always do once they've been lifted. But I instructed the client not to trim back the leaves but to let them die down naturally.

I love it when the client comes out two hours later and says "My! I never knew I had all those Peonies!".

In this case, knowing that Peonies don't like to be disturbed, I managed to work around most of them by loosening the soil all around and - as everything was at that point bone dry - gently pulling out the lengths of couch grass through the Peony, without having to lift the entire plant.  I'm cautiously optimistic that I got all of them: and if not, once they have flowered, then I will just have to go back and lift the entire plant in each case, clean it of all couch grass,  and replant it.

In the case of the big one, it was so badly infested that there was no choice but to lift it, clean it, and replant it.

Most gardening books will tell you that Peonies will sulk for one/three/five/seven years after being lifted: this is simply not true. They will sulk and refuse to flower if you plant them too deeply - and as they are substantial plants, there is always the tendency to plant them deeply.

The trick is to remove about half of the leaves, to reduce the weight of the plant: dig a shallow bowl, make a heap of soil in the middle of it, spread out the fat tubers around the heap, then cover them over with soil and press down gently. If the plant still tends to fall over, either take off more of the foliage, or carefully push a stake or two between the tubers (you may have to uncover them, to avoid spearing them) and tie up the foliage.  If there are stout flowering stems, then frankly you may just have to admit that it won't flower this year, and chop them off.

So there you go,  how to remove Couch Grass. Easy! *wry smile* 


Did you enjoy this article? Did you find it useful? Would you like me to answer your own, personal, gardening question? Become a Patron - just click here - and support me! Or use the Donate button for a one-off donation. If just 10% of my visitors gave me a pound a month, I'd be able to spend a lot more time answering all the questions!!

Wednesday 15 May 2013

Topiary snail time again.

Dear old Brian - or Bryony, since the baby snail arrived - has been growing again, and on arrival this morning, I found a very fluffy snail:


Hmm, time to do something about that.

First a general clip over the head and the main part of the body, using the trusty old shears, then out with the secateurs for a bit of close attention to the antennae:

Can you tell which one I have done? *laughs* Of course you can! From this angle, he/she does look a bit like a woolly mammoth, but don't worry, it will get better. And - as always - it looks better in real life than it does in a camera-phone photo.


Here I am half-way through the second antennae, to show what a reduction in size it is.

As you can see, there is a lot of new growth, and all that has to come off.

You need to get back to the original shape, and it's quite easy to do - the original growth is darker and tightly packed, so all you have to do is cut off the light green, airy new growth.

OK, easier to show you how to do this than to describe it!

Even though this is a more complicated shape than a simple ball or cone, the principle is always the same: cut off the new growth and go back to your original shape.

As time goes by, the original shape gets denser and denser, as shoots within the shape reach the edge and get cut off. Clipping it then gets easier - and easier!

Here's the finished thing, after a little work on the spirals of the shell.

Between you and me, I'm not as happy with the spirals on the shell being set sideways, I preferred it when they were incorrectly, but more decoratively, positioned on the top of the shell.

Curses on Jim for pointing it out to me!

This piece of topiary is in a narrow passageway with the fence - you can just see it - on the left, then a narrow path, then the side of the garage. Not exactly an optimum position, and it doesn't get a great deal of sun, so the sides of the topiary are less dense than the top. So the shell spirals worked better when they were on the top of the item, not on the side.

Ah well, I've done it now, and I'm not going to change it again.

The baby snail is coming along quite nicely: that's why (by the way) Briony's head is turned inwards. She's looking down at the little one.

So, there they are, all neatly clipped, and that should last for a month or so.


Tuesday 14 May 2013

The largest slug this year...

Look what I found while weeding last week:


Uuurrrr! * shudders theatrically*

Now, I'm fairly immune to slugs, I have been known to pick up the smaller ones with bare fingers... and although this is not the biggest I have ever seen, it's certainly the biggest I have seen for a while. And yes, I yelped like a girly and jumped back about two feet when I lifted the lavender to weed underneath it, and found this thing looking at me.

To be fair to me, it's not as big as it was - having been stabbed with my daisy grubber (apologies to all you animal-lovers out there, but honestly, slugs? Seriously?) it is now shrivelling up, and it was half as long again when it lunged viciously at me I found it.

OK, looking at the photo now, it doesn't actually look that big...

Sunday 12 May 2013

Why we don't put bulbs on compost heaps:

This is why:


Yes, if you throw tulip bulbs out when you empty pots, it is the equivalent of planting them, and some months later,  up they come.

This is exactly the same reason why we don't put roots of couch-grass, ground elder, bindweed etc on the compost: burn them! Or put in them your brown bins (or whatever colour your local council choose to use for garden waste paid collection). Or spread them out in the sun to dry for several days before composting - assuming, that is, that we ever get several consecutive days of sun, ever again...

But on the compost heap?  No!!

Saturday 4 May 2013

Dews Meadow Farm Shop

Time to restock the plant bench: there hasn't been much to offer for a while, just daffs and tulips in pots, but at last we have some warmer weather, a bit of longed-for sunshine, and the plants are responding. Not much in the way of flowers yet, but lots of lush foliage, so I thought it was worth the effort to fill up the bench with some new offerings.


So what do I have on the bench today? About the only plant actually flowering is Epimedium, a much under-rated plant, but it's a bit tricky to "place" it in a garden successfully, as it's a low-growing thing that does need, just once a year, a bit of fiddly attention.

The one I am selling is Epimedium versicolour "Sulphureum".  It spends most of the summer and autumn being a neat dome of heart-shaped green leaves on wiry stems. In late autumn and through the winter they turn a lovely bronzey colour. Then in early spring - and this is tricky part - they start looking a bit tatty, and have to be snipped off very carefully at ground level, without damaging the emerging flower stems, which are soft and tender at that stage.

The flowers - tiny, starry little things - are two shades of yellow, and very pretty. But if you don't cut the leaves out first, you don't see them, as they don't rise above the leaves.

What a daft arrangement, eh?

I have a client with some large clumps, who had never seen them flower, and thought they were just foliage plants!

Yesterday I put out one large pot and two small pots of this plant on the bench, and by the time I got back with the watering can, one of the small ones had already been snapped up, which is great.

Other things on sale include a couple of Mulleins (Verbascum) that great big spire of dull yellow flowers, with huge fuzzy-felt leaves: a purple-leafed Hazel (I have lots of these, of various sizes): along with Aconite, Lamium Orvale, purple Lysimachia (a favourite of mine, love the foliage, less keen on the bright yellow flowers), a couple of decorative grasses, some Sedum, a couple of small shrubs: not  knowing what will sell, I've more or less put one of each thing up there, what you might call "odds and ends" rather than a cohesive selection, but we are coming up to a long weekend, so it will be interesting to see what has sold.


Did you enjoy this article? Did you find it useful? Would you like me to answer your own, personal, gardening question? Become a Patron - just click here - and support me! Or use the Donate button for a one-off donation. If just 10% of my visitors gave me a pound a month, I'd be able to spend a lot more time answering all the questions!!

Friday 3 May 2013

Why take very small children garden visiting?

Why do people take very small children out garden visiting?  Have they no idea how annoying, intrusive, and downright unpleasant it is for the rest of us? Not to mention the careless damage done by  jumping around on flower beds, the dropping of sweet wrappers, and heedlessly picking flowers?

Last year, at West Green House in Hampshire, I was entranced by the sophisticated water garden.


For oh, all of ten minutes, until two small children ran up, shrieking at full volume, and jumping repeatedly over the narrow canals. The parent, some distance away with a buggy, seemed completely oblivious that children can fall into water and drown ("if only…") quite apart from merely getting themselves soaked and ruining the car on the journey home. I mention those as perfectly valid reasons why this parent should have paid more attention, but what made me angry was the ruining of my peace, and enjoyment of the garden.

Who was more selfish? Me, for wanting the noisy children to go elsewhere? Or the parent, for letting her children ruin the visit not only for me, but for any other like-minded garden visitor?

I’m currently reading through old "Garden" magazines, and back in 2008 this point was raised by a couple whose visit to Sissinghurst had been ruined.

The following month’s edition carried two letters aggressively defending the children: one from the actual owner of the children, who said:

"I was incensed by the letter from… complaining of children racing around the paths.  Yes, we raced round…but we also admired the red garden and thought about how it made us feel. We smelled the flowers, learned how to identify roses, talked about bees and pollination and how to identify trees."

All of which could be done in their local park, without disturbing paying visitors, who may have travelled a long way to be there. The other letter started:

"What a shame that … have such an intolerant attitude to children in public gardens. When we visited Sissinghurst… my daughter played hopscotch by the herb garden, my son played in the tree holes by the pond and they all enjoyed lying in the meadow."

All of which could be done in their local park. She finished "We should be encouraged to see children enjoying outdoor spaces and using their imagination. Why should they be corralled into ready-made visitor attractions that cost the earth and restrict their creativity?"

I assume she meant theme parks, but if she’s concerned about cost, well, local parks are free.

In my opinion, there is no place for small children in garden visiting. The buggies clog up the paths, the shrieking is intolerable, and do they benefit from it?  I don’t think so. Small children can’t tell the difference between a common wild flower and some precious horticultural rarity.  I think they would benefit far more from being taken to their local park, or to open heathland where they really can run around and let off steam without any fear of damaging plants.

When expressing this view, I had one parent rather huffily ask me why she should give up garden visiting, which she loved, just because she had small children now. I told her that in my opinion, she should be prepared to put her hobby on the back burner for a couple of years, until her children are old enough to benefit from it. She didn’t seem to think that becoming a parent should change her life at all, which I thought demonstrated a staggering amount of selfishness. Had she never heard the expression "children change your life in every way" ?  That’s what it means - your hobbies, interests, activities all have to become secondary to your children. So take them to your local parks and open spaces - talk to them there, show them the trees there, let them play on the custom-designed equipment, not on expensive statuary, and although I hate to imply that public parks are horticulturally second-rate, let them pull apart the flowers there.

And leave the garden visiting to us entrance-fee-paying, appreciative, grown-ups.